Installing the Panel
The Panel is included in Kirby's starterkit and boilerplate. The application is located on your server in the /panel folder. Please read the installation guide if the panel folder does not exist yet.
Rename Panel folder
Since version 2.2.0 you can rename the /panel folder to a custom name. To make this work, rename the /panel folder and then modify your rewrite rules in the .htaccess file. Let's suppose you have renamed the /panel folder to "controlpanel", then you need to change your .htaccess file like this:
//default Panel folder
# make Panel links work
RewriteCond %{REQUEST_FILENAME} !-f
RewriteCond %{REQUEST_FILENAME} !-d
RewriteRule ^panel/(.*) panel/index.php [L]

//custom panel folder called controlpanel
# make Panel links work
RewriteCond %{REQUEST_FILENAME} !-f
RewriteCond %{REQUEST_FILENAME} !-d
RewriteRule ^controlpanel/(.*) controlpanel/index.php [L]
You can now access the Panel under http://yourdomain.com/controlpanel.
Running the installer
2.3.0 +
Important:
For security reasons, the Panel installer can only be run on localhost by default. If you want to run the installer on a remote server, you need to set a config option in your config.php:
c::set('panel.install', true);Please make sure to remove this line again after you have successfully created your first Panel user.
Visit http://yourdomain.com/panel to start Kirby's installer. It will check for any issues with your installation.
Possible issues
- Make sure that the content folder and all subfolders and files are writable
- Make sure the /thumbs folder exists and is writable
- Make sure the /site/accounts folder exists and is writable
Once all those checks have passed, the installer will jump to the user signup form.
Creating your first account
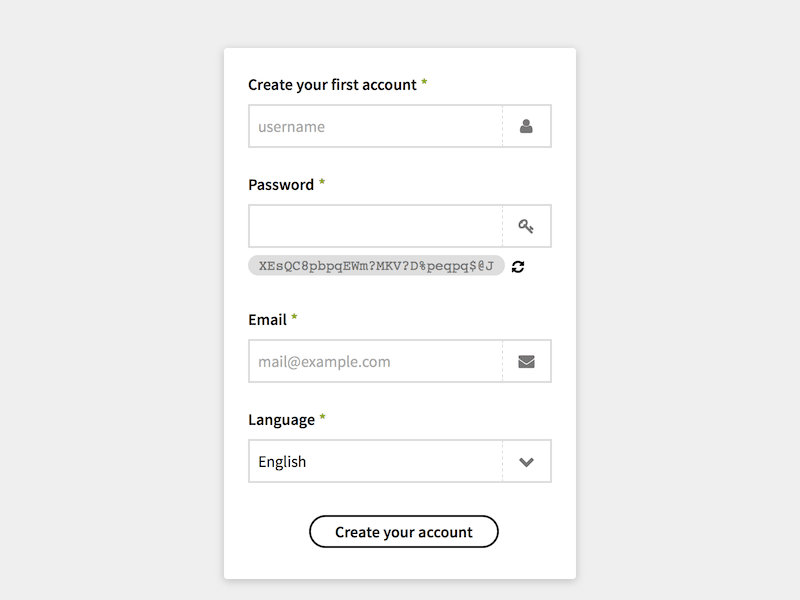
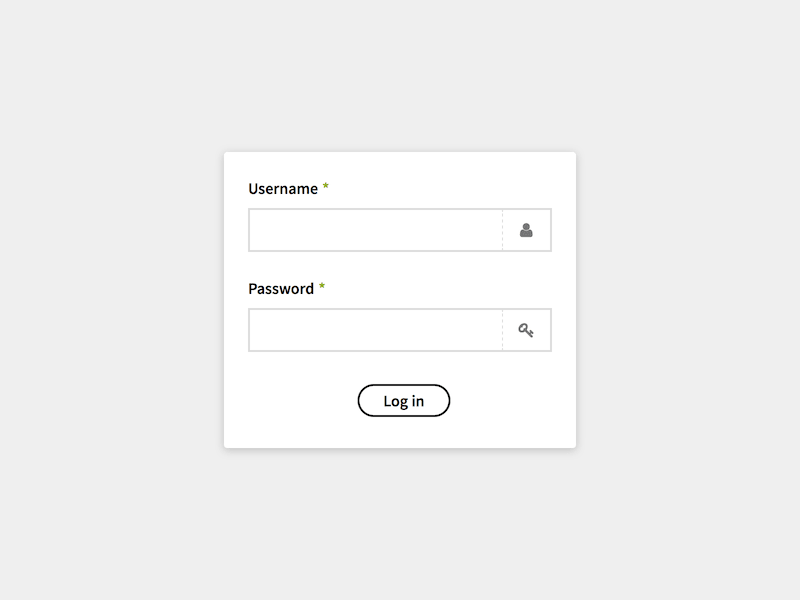
Fill in all fields of the signup form to create the first user account. Once the account has been created the Panel will take you to the login page, where you can sign in with your newly created username and password.